If you’ve ever dreamed of producing wedding videos that captivate couples and stand out in a crowded market, this guide is for you.
Over the years, I’ve learned a ton about wedding videography: the gear, the workflow, the creative choices, and even how to adapt on the fly.
My goal here is to help you transform ordinary footage into cinematic wedding videos that are emotionally rich and visually stunning.
Below, I’ll take you through 10 detailed steps—ranging from gear selection and shooting solo to capturing breathtaking slow-motion moments and recording clean audio.
We’ll delve deeply into each step so you’ll have an actionable roadmap.
Whether you’re just starting out in the world of wedding videography or looking to refine your craft further, these steps will give you the knowledge and confidence to excel.
This article is long for a reason: I want you to have all the relevant info without filler. By the end, you’ll have a clear strategy and a wealth of proven techniques to elevate your wedding filmmaking. Let’s jump in!
Step 1: Planning Your Setup and Visual Story
Before you dive into gear specifics, it’s critical to have a clear plan for your shoot. This plan encompasses the look you’re aiming for and how you’ll achieve it.
I like to envision the film as a narrative: from establishing the location to capturing emotional close-ups. Visualize how the final edit might flow before the big day even arrives.
Research and Expectations
Start by thoroughly discussing the wedding timeline with the couple, or with the planner if there is one.
Ask about the most important elements:
Are they writing personal vows?
Is there a letter-reading moment during prep?
A father-daughter dance with special significance?
Gather details about cultural or religious customs so you can be prepared to film them seamlessly. Some ceremonies might include unity candles, ring-warming traditions, or unique symbolic rituals.
Make sure you understand these events to position yourself in the best spot at the right time.
Most importantly, set realistic expectations. Discuss the coverage style you offer—documentary, cinematic, or a mix of both. Do they want a short highlight film or a full ceremony edit with multiple camera angles?
By clarifying these points, you’re already a step closer to delivering exactly what the couple envisions.
Building Trust
Confidence is key. If the bride and groom trust you, they’ll feel more relaxed and give you genuine, heartfelt reactions.
This trust begins the moment you start communicating—whether it’s via email or a video chat. Be friendly, curious about their story, and ready to answer questions about your process.
When couples sense you’re invested in telling their unique story, it’s easier to capture authentic footage on the wedding day.
Step 2: Choosing the Right Gear for Cinematic Wedding Videos
Weddings are one of the most gear-intensive events you can film. You’re often on your feet for 8 to 12 hours (or more!), covering multiple locations under varied lighting.
Let’s look at the core components you’ll need for a polished, cinematic wedding film.
Cameras that Handle Long Shoots
Your camera must be reliable for extended shooting sessions. Look for:
- Good low-light performance: Wedding receptions often happen late in the evening, with dim, romantic lighting. A camera that can handle higher ISOs with minimal noise is golden.
- Long record times or minimal overheating: Some models will stop after 30 minutes or risk overheating. If you’re filming full ceremonies or long speeches, you need a camera that can roll without constant breaks.
- Solid autofocus: If you’re filming solo, reliable autofocus on a camera like a Sony A7 series, Canon EOS R line, or similar can be a lifesaver. You’re freed up to concentrate on framing and story rather than manual focus pulls.
For me, having at least one full-frame camera that shoots at 50 or 60 frames per second is vital. This allows for slow motion in post, a favorite technique of mine for adding drama to pivotal moments.
Essential Lenses for Emotional Impact
I like having at least three main focal lengths covered for weddings:
- Wide (16–24mm range): Great for establishing shots of the venue, group portraits, or large scenic backdrops.
- Mid-range prime (35mm or 50mm): The sweet spot for capturing bride and groom prep, medium two-shots, and any scenario where you want an intimate yet not overly tight angle.
- Telephoto (85mm or 70–200mm): Ideal for close-ups of the bride or groom during the ceremony. Using a longer lens lets you remain discreet, preserving the moment’s intimacy without crowding the couple.
If you have a limited budget, a 24–70mm f/2.8 zoom is an excellent all-in-one choice, especially on a full-frame body. It can capture wide scenes and zoom in relatively close to show emotion.
But for me, it’s tough to beat the aesthetic of a good prime lens—like an 85mm prime—for those magical, creamy shots where the background just melts away.
Stabilization: Monopod vs. Gimbal vs. Tripod
Stability is non-negotiable. Shaky footage can distract from the emotion you’re trying to highlight. Consider these tools:
- Monopod: Lightweight, easy to move around, and excellent for ceremonies where space is tight. Some monopods have feet, letting you stand it up (with caution). You can pivot quickly to catch different angles.
- Tripod: Perfect for a “safe” wide-angle shot. Once you set it up, it consistently records the entire event. This is especially important for solo shooters who can’t be in multiple places at once.
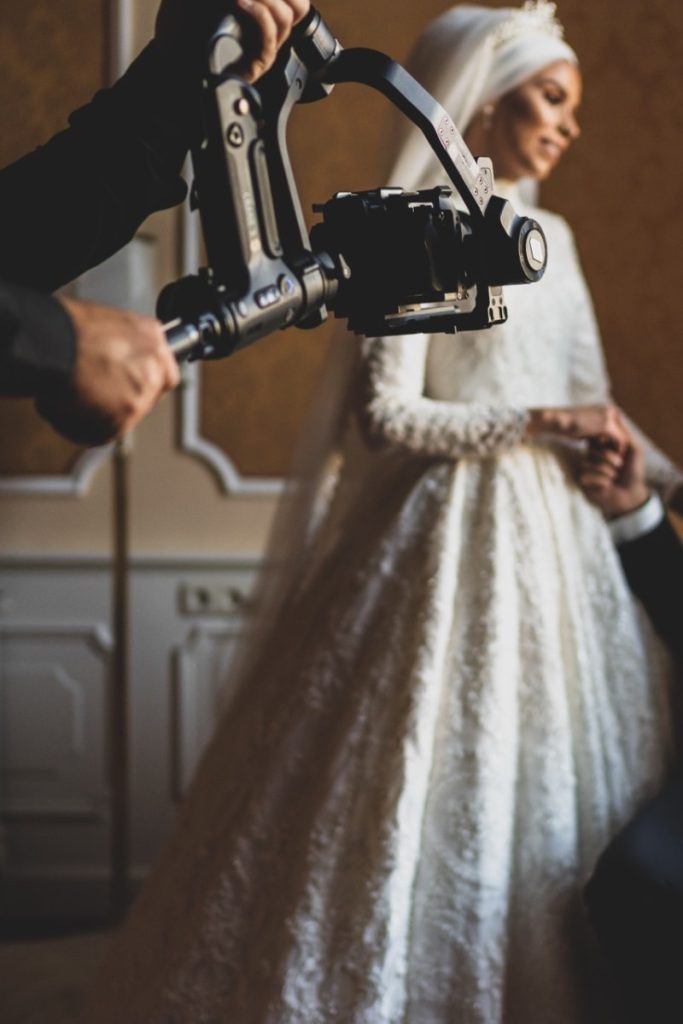
- Gimbal (motorized): Provides incredibly smooth moving shots. A gimbal can give you that floating, cinematic feeling, but it’s heavier and can be tedious if you use it non-stop. You’ll also need extra time to balance it correctly.
- Glidecam or other mechanical stabilizers: These require more skill but can deliver wonderfully organic motion without depending on motors. They can also be more compact.
I personally juggle a monopod for quick, stable transitions, a tripod for a locked-off wide angle, and a gimbal if the venue or the day’s schedule calls for those sweeping shots of the couple walking around, especially during golden hour portraits.
Audio Recorders and Mics
A wedding video is half visuals, half audio. Clean vow recordings add massive emotional value. Strategies include:
- Wearable recorders: Devices like Tascam DR-10L, Sony TX660, or Rode Wireless systems tucked into the groom’s jacket or taped under a mic on the podium.
- Audio feed from DJ/mixer: If the officiant is mic’d through a PA system, record that line-level signal with a small recorder (like a Zoom H5) as a backup.
It’s no exaggeration to say that capturing clear vows and speeches can double the emotional impact of your final film.
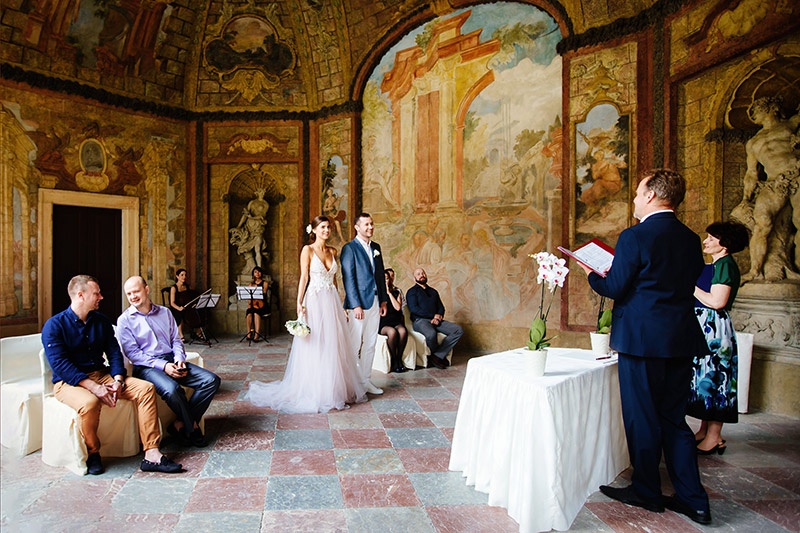
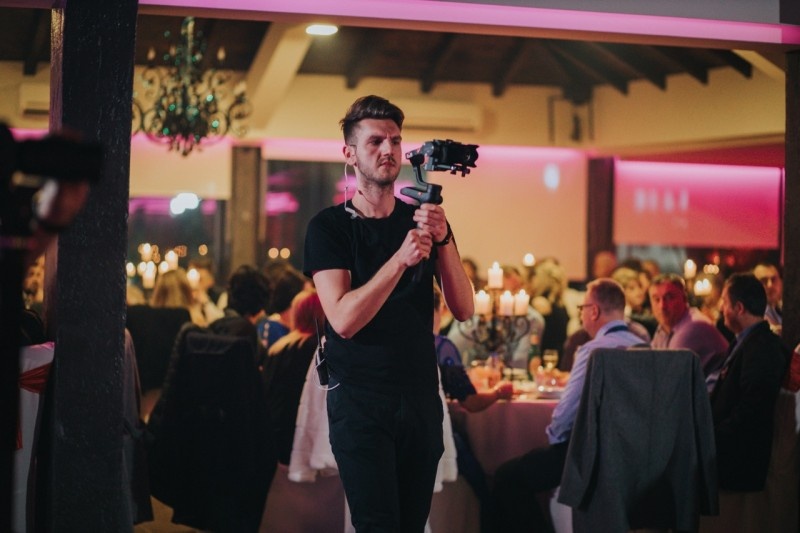
Step 3: Mastering Ceremony Coverage—Solo or With a Team
The ceremony is where the most significant moments happen: the bride walking down the aisle, the heartfelt vows, the first kiss.
Let’s break down some ways to tackle coverage effectively, whether you’re on your own or have a second shooter.
Strategic Placement of Cameras
If you’re shooting solo, position one camera (perhaps on a tripod) to capture an uninterrupted wide shot of the couple. This is your “safe” angle. Meanwhile, you use a second camera—often on a monopod—to float around capturing close-ups, guest reactions, and cutaway shots.
If you have a third camera, put it on one side facing the bride (the “bride cam”). This angle stays locked on her expressions during vows. With a fourth, you can do the same for the groom.
The more cameras you set up, the more angles you’ll have in post-production to seamlessly piece together the narrative. But be mindful: more cameras also means more gear to monitor, so plan your transitions and keep an eye on recording times.
The Processional and Recessional
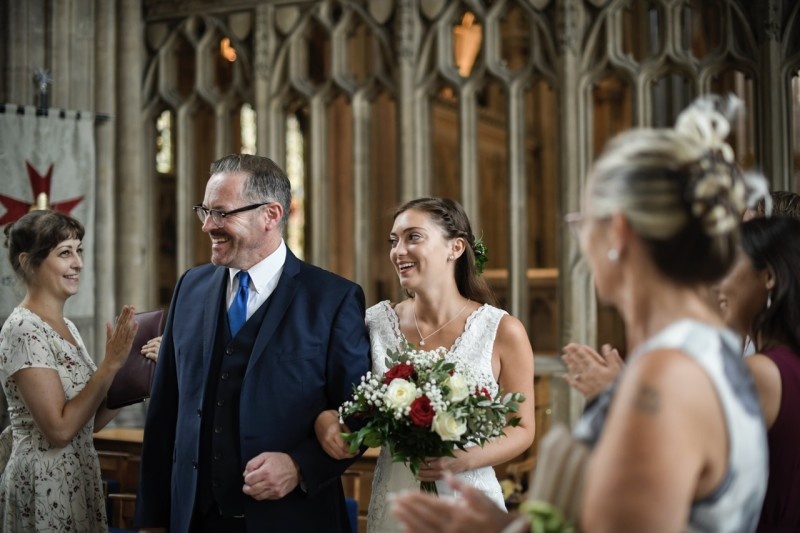
For the processional, I usually stand at the front, angled down the aisle so I can see the bride’s face as she enters.
When she appears, I’ll grab a quick shot of the groom’s reaction—this often requires a fast pan if you’re solo. The father handing off the bride is another can’t-miss moment, so keep your main camera rolling while you do quick, subtle repositioning.
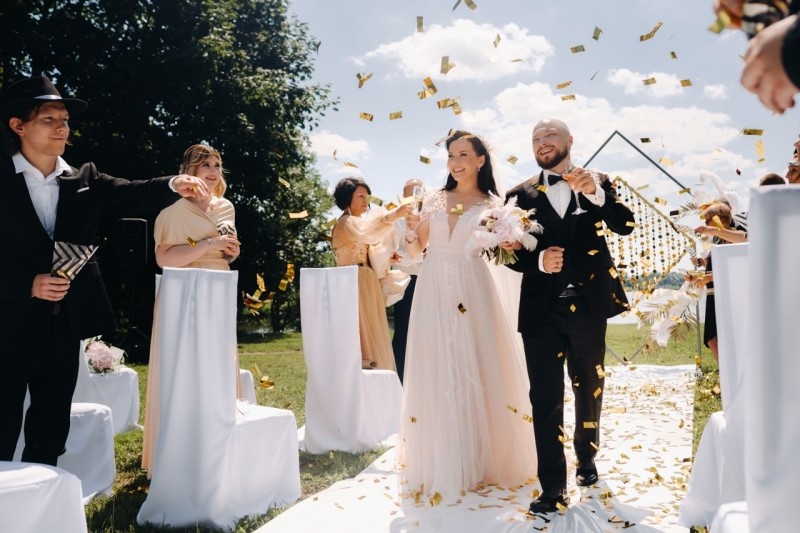
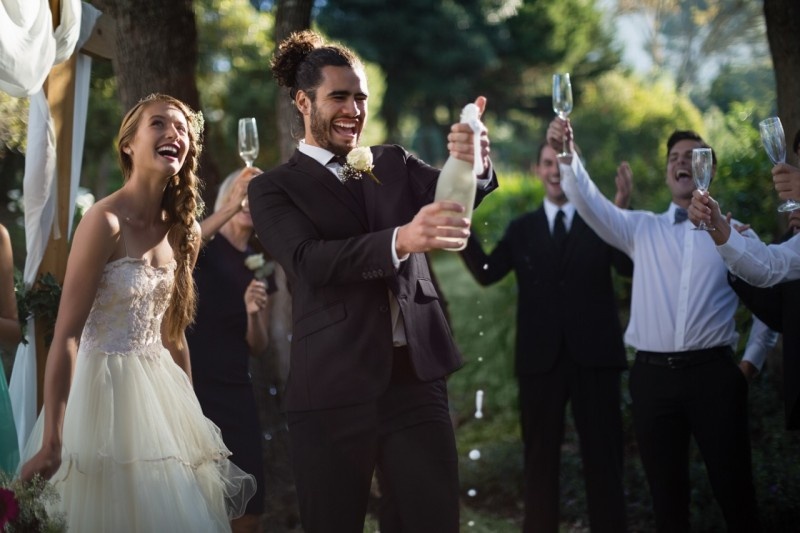
The recessional typically features beaming smiles and applause. This is an ideal time to capture slow-motion if you’re shooting 50 or 60 fps, highlighting confetti or flower petals.
With a second camera (or a second shooter), you can also get an over-the-shoulder shot, capturing the guests cheering behind them as they walk up the aisle together.
Managing Light Shifts
If the ceremony is outdoors, the sunlight might change unexpectedly—clouds rolling in or strong midday sun. In these cases, lock in a consistent white balance if possible.
Shifting color temperatures from auto white balance can complicate post-production.
Also, consider having variable ND filters for bright conditions, letting you keep a shallower depth of field without overexposing.
Step 4: Adding Artistry with Slow Motion and Smooth Movement
Slow motion is one of my favorite techniques to elevate wedding footage, but it must be used with intention. When done right, it injects a sense of wonder into moments that might otherwise feel routine.
Choosing the Right Moments for Slow Motion
Not every shot should be slowed down. Ask yourself: “Does slowing this particular moment amplify emotion?” Perfect examples include:
- Bride walking down the aisle: Emphasize her dress movement, her facial expression, the reaction of guests.
- First look: If you capture the couple’s immediate emotional response, slow motion can highlight subtle shifts like a small tear or the groom’s quick intake of breath.
- The couple’s exit: Whether they’re showered with petals, bubbles, or confetti, slow motion adds a dreamy effect and helps the viewer take in those celebratory details.
In short, slow motion draws attention to the emotion at hand. Use it strategically for emphasis rather than applying it to every clip.
Technical Settings for Smooth Footage
For slow motion, film at 50 or 60 frames per second (depending on your region and camera). This allows you to play back the footage at 24 or 25 frames, creating that gentle slow-down effect.
Remember, higher frame rates require more light, so be prepared to open up your aperture or increase ISO if you’re indoors or in darker conditions.
Incorporating Movement
There’s more to smooth, cinematic footage than slow motion. Controlled camera movement with a monopod or gimbal can add immersive feel. Examples:
- Push-in shot: Slowly move closer to the couple during an emotional moment, drawing viewers deeper into the scene.
- Parallax shot: Circle around the couple while keeping them in center frame, revealing the environment behind them for a dynamic look.
- Handheld with good stabilization: Some prefer the subtle shake of handheld for a more intimate vibe, but rely on in-camera stabilization or a rig to avoid distracting wobble.
Combined with slow motion, these movements can transform simple interactions—like a shared laugh—into a highlight of the film.
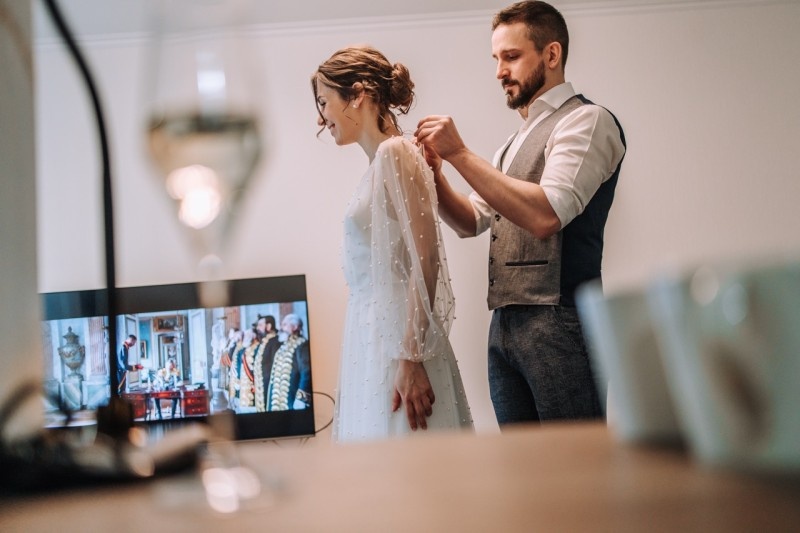
Step 5: Capturing Bridal Prep and Other Pre-Ceremony Details
The morning prep is where smaller, intimate details reveal themselves—a quiet letter exchange, heartfelt toasts among friends, or a father’s first glance at his daughter in her dress. These moments help fill in the story of the day.
Room Setup and Lighting
Often, bridal suites or hotel rooms are cluttered and poorly lit. If possible, declutter the space a bit to minimize distractions in your frame.
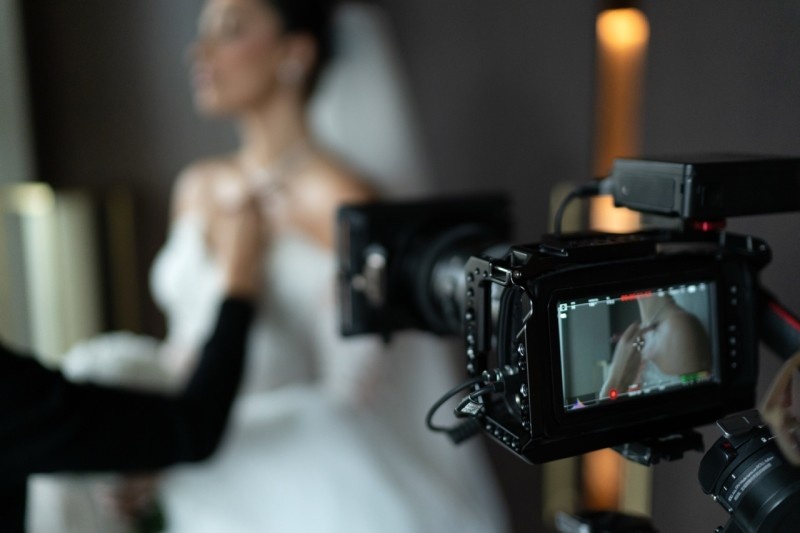
Position your subject near a window for soft, natural light. I typically ask the bride to do final touches—like putting on earrings—close to the window.
This highlights her face while the background recedes into softer light.
Highlighting the Dress, Shoes, and Accessories
The bride’s dress and shoes are details that took months to choose. Hang the dress in a clean, well-lit area to record a short sequence of it swaying gently.
You can do the same for the bouquet, rings, or bridal jewelry.
These detail shots become visually interesting cutaways during the final edit. Get creative: filming from behind a door frame for depth, or adding a slow push-in as the dress gently moves, can look spectacular.
Emotional Interactions
The mother helping with the bride’s hair, bridesmaids fussing over the veil, or a last-minute pep talk are prime emotional moments.
Have your audio recorder or mic ready; these spontaneous interactions can yield heartfelt lines that enrich the final film.
Encourage the bride and bridesmaids to talk naturally while you film, rather than staging everything.
Genuine laughter and excitement shine on camera.
Step 6: Managing Reception Coverage and Lighting Techniques
Receptions often hold speeches, the first dance, cake-cutting, and other traditions. This portion can be visually challenging due to dim or colored lighting. Yet it’s loaded with opportunities for emotional, cinematic moments.
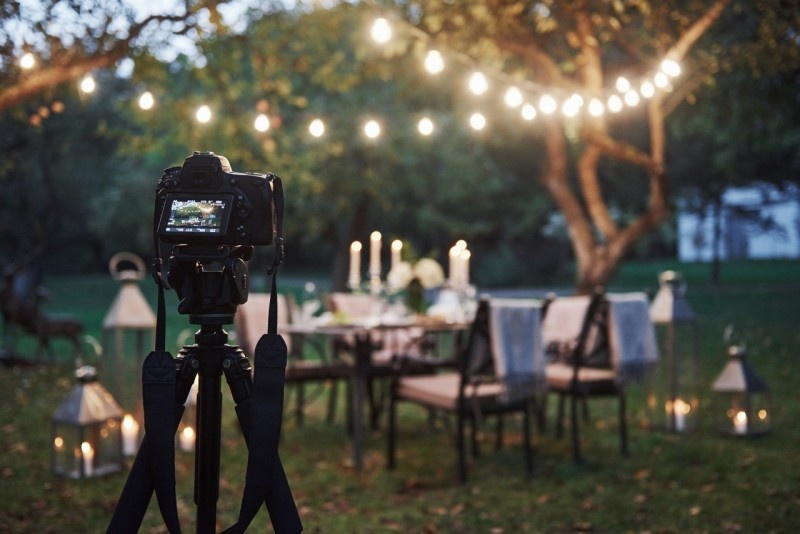
Setting Up Your Lights
I almost always bring at least one or two video lights to the reception. If the venue lighting is especially dark, I’ll place a key light angled toward where the couple will sit for speeches or where they’ll be dancing.
If possible, a secondary backlight or hair light can outline them, separating them from the background. This small touch can elevate your footage significantly.
Match the color temperature of your lights to the environment. If the venue lights are tungsten (warm), set yours likewise. If they’re neutral or daylight-balanced, adjust accordingly.
Mismatched color casts can ruin continuity. Many LED panels or wands allow you to dial in color temperature to suit the surroundings.
Capturing Speeches and Toasts
This is one of the biggest emotional highlights for the final edit. People share funny, sweet, and heartfelt stories. Try to mic up the speaker or record the venue’s audio feed. Meanwhile, position a camera on the couple’s reactions.
That means having at least two angles if you can manage it: one for the person giving the speech, another for the bride and groom.
Sync those angles in editing, then cut between them to show the emotional responses.
First Dance and Party Vibes
For the first dance, consider capturing multiple angles. A wide shot to show the entire dance floor, plus a tight shot to focus on the couple’s faces and their footwork.
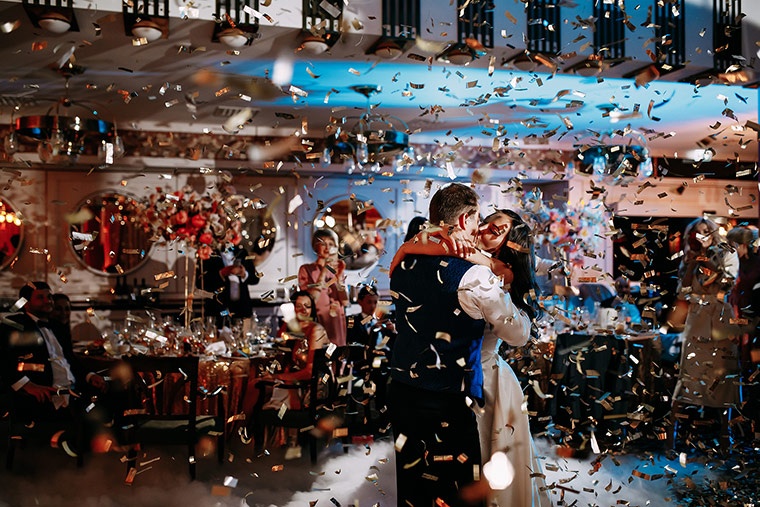
If guests hold sparklers or the DJ turns on special lighting, try a slow circle or parallax shot around the couple.
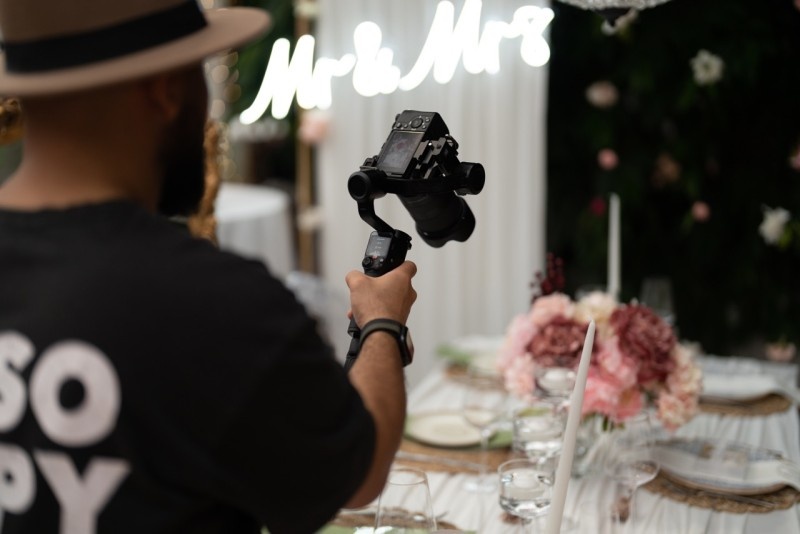
Later, during open dancing, read the room. If people are lively and want to ham it up, move around with them. Handheld or gimbal shots can capture candid excitement.
If it’s a more subdued crowd, carefully frame clusters of guests enjoying conversations or gentle dancing.
These reaction shots can fill in transitions within the final film.
Step 7: Using Candid Moments and Guest Reactions in your wedding videos
Cinematic wedding films aren’t just about the couple; they’re also about the people celebrating with them.
Shots of teary-eyed parents, the bridesmaids beaming as they watch the vows, or the groom’s friends laughing at a speech can all enhance the storytelling.
Where to Find Emotional Reactions
Weddings are a goldmine for emotions, but you have to know where to look.
During speeches, focus your secondary camera on the couple, parents, and close friends who are likely to react the most.
During the ceremony, keep an eye on the front rows—parents and siblings might be emotional. Even older relatives might shed tears at the vow exchange.
If you have spare moments, capture brief, 5–10-second clips of guests talking or laughing during the cocktail hour. These “candids” can be inserted anywhere in the edit to create transitions or to paint a fuller picture of the day’s ambiance.
Working Discreetly
To get natural reactions, try not to draw too much attention. Move quietly, hold your camera at a less intimidating angle, and use a telephoto lens if necessary.
If guests notice you pointing the camera directly at them for too long, they’ll tense up or pose unnaturally.
A quick approach can capture genuine facial expressions.
Remember, part of being a wedding filmmaker is blending in while still being ready for the perfect shot.
Step 8: Working Harmoniously with Photographers and Vendors
Wedding filmmaking is rarely a solo experience—even if you’re the sole videographer. You’ll typically interact with photographers, DJs, caterers, and possibly a wedding planner.
Creating a collaborative environment benefits everyone.
Building Positive Vendor Relationships
When you arrive on-site, introduce yourself to the photographer.
They’re your closest ally in capturing the day. Quickly discuss your plan for major events—who stands where during the processional, how you’ll coordinate for the first look, etc.
Being respectful of their shots encourages them to respect yours.
With DJs, communicate if you need a direct feed. Ask them about the timeline for speeches, the first dance, etc.
They’ll often appreciate your proactive questions because it helps them keep the event flowing smoothly.
Staying Flexible
Timelines can change last-minute. A wedding might run late because of traffic or unpredictable weather. By staying calm and flexible, you’ll maintain a professional demeanor.
Usually, I keep an easily accessible shot list on my phone or a mental run-through, but I’m ready to adapt if things shift.
If you handle these curveballs smoothly, other vendors will want to work with you again, and the couple sees you as a lifesaver, not a stress creator.
Step 9: Shooting with the Edit in Mind
Capturing footage is only half the puzzle; you must visualize how it all comes together during editing. Here’s how I keep the final product in mind even as I’m shooting.
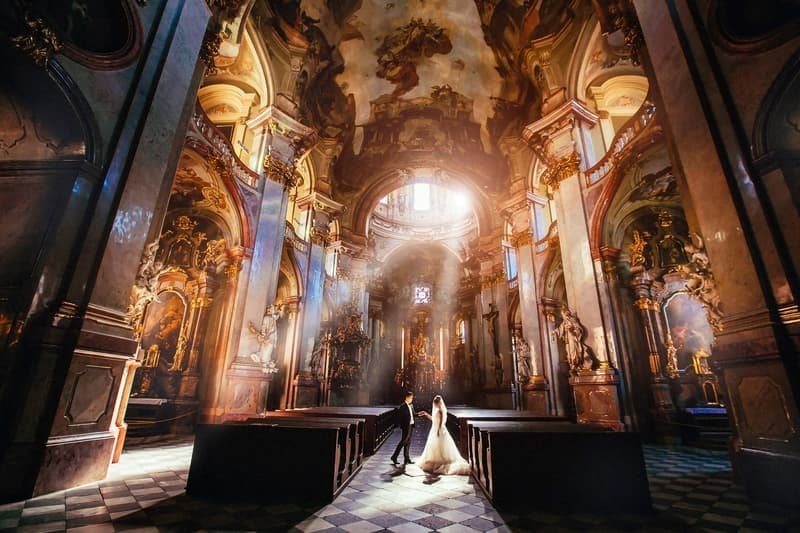
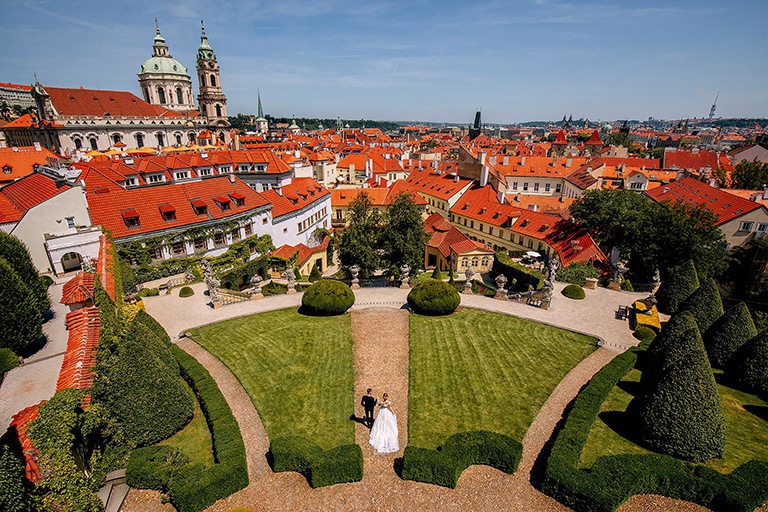
Establishing the Scene
Always grab B-roll of the venue’s exterior, the sky, local landmarks, or anything that can set the scene. These establishing shots help viewers know where and when everything’s happening.
A quick 5-second clip of the church’s facade, the city skyline, or rolling hills can serve as a beautiful introduction to the film.
Capturing Long-Form Clips
I used to shoot tons of brief, 5-second snippets. That approach complicates post-production—too many tiny clips can clutter your timeline.
Now, I try to record longer, continuous clips during important moments like vows, speeches, or the first dance. This ensures I have a stable, uninterrupted recording should I need it.
Cutting down a longer clip is easier than stitching together short ones while hoping for continuity.
Layering Audio Over Visuals
Wedding videos can shine when you overlay a touching speech or vow on top of unrelated visuals—like a scenic shot of the couple strolling hand-in-hand.
This approach weaves the story together. So when filming, listen for emotional audio cues. If the bride is reading a letter to her father, get a solid audio recording, even if you plan to show different B-roll in the final cut.
This synergy of audio and video elevates your film beyond a simple highlight reel.
Step 10: Post-Production Tips for a Polished Film
After the wedding, it’s time to craft your footage into a cohesive, emotional film. How you edit can drastically change the impact of the final piece.
Organizing Your Footage
First, transfer everything to your editing suite and back it up—never rely on just one hard drive.
Sort footage by categories: “Prep,” “Ceremony,” “Reception,” “Speeches,” “Couple Portraits,” and “B-Roll.”
This labeling system saves time, helps you locate specific clips quickly, and reduces the stress of scanning through random filenames.
Building the Narrative
Determine whether you’re producing a short highlight film or a more extended feature.
For a highlight, select the most emotionally charged moments—voiceover excerpts of vows, the best speeches, or the father’s toast.
Then fill in transitions with detail shots (flowers, décor) or scenic B-roll. Arrange these so they build momentum, culminating in the ceremony’s high point or the first dance.
For a longer, documentary-style film, you’ll likely include more chronological sequences. Even so, I recommend weaving in crucial audio clips from the bride, groom, or officiant.
Let their words drive the story forward. If you have multi-cam footage of the ceremony, use clean cuts or tasteful transitions to switch angles, maintaining continuity of sound and action.
Color Correction and Grading
Weddings typically feature whites, pastels, or carefully chosen color palettes for décor. Your job is to ensure these tones remain pleasing and consistent.
Start with basic color correction: fix white balance, exposure, and contrast. Then move to grading to establish a look—maybe a warm, romantic vibe or a slightly cooler, modern aesthetic.
Consistency is key. If your footage drastically changes tone shot to shot, it can jar viewers out of the experience.
Refining Audio
Don’t underestimate the power of sound design. Fade in soft ambient noise or a gentle instrumental track under vow readings.
Use gentle transitions and crossfades for music changes. If a father’s speech has minor background hum, apply noise reduction carefully, ensuring you preserve the natural timbre of his voice.
You can also add subtle sound effects to enhance certain scenes—like a light whoosh as the bride’s dress sways or mild crowd ambiance under a wide shot of the reception.
Keep it subtle to avoid sounding artificial.
Bonus Tips for Shooting (and Surviving) Wedding Days
By now, we’ve covered the main steps. But I’d love to share a few extra tips that have saved me time and sanity on many a wedding day.
Carry Extra Batteries, Cards, and Chargers
Yes, you’ll shoot for hours. Make sure you have more than enough batteries. If you think you need 3, bring 5. Same for memory cards.
You never know when a card might fail, or when you’ll need to do an emergency card swap mid-ceremony. Chargers are also key if you have a downtime window to top up your gear.
Invest in Comfortable Footwear
This might sound trivial, but you could be on your feet up to 12 hours. Uncomfortable shoes can distract you, making you lose focus.
Quality, professional-looking shoes with supportive insoles go a long way toward keeping your energy and creativity high throughout the day.
Keep a Shot List, But Stay Open to Surprises
Mentally or physically list the must-have shots: the dress, rings, vow exchange, parents, and so on. Tick them off as you go.
This ensures you don’t forget essential moments.
Yet, remain open to spontaneity: a sudden, playful moment or an emotional hug you didn’t see coming can become the film’s highlight.
Respect Boundaries
In certain ceremonies, there might be restrictions on movement or camera placement. Ask the officiant or planner beforehand.
It’s better to know the rules than be forced to re-locate in the middle of the vows.
Respecting space also ensures you don’t become a distraction for guests during the service.
Professionalism, courtesy, and adaptability: those qualities will get you far in this industry, beyond just producing beautiful footage.
Final Thoughts: Your Path to Creating Stunning Cinematic Wedding Films
Weddings are dynamic, emotional, and frequently unpredictable.
Yet, they’re one of the most rewarding subjects to film. You’re documenting a life-changing event and crafting a story that couples will share for generations.
That’s why thorough preparation, flexible mindset, and a focus on genuine emotion matter so much.
To recap the 10 steps:
- Plan Your Setup & Visual Story – Research the wedding day details, clarify expectations, and envision your final edit beforehand.
- Choose the Right Gear – Balance reliability with creative freedom, ensuring you have cameras, lenses, and stabilizers for multiple scenarios.
- Master Ceremony Coverage – Use a safe wide shot plus roving angles to capture every pivotal moment. Plan camera placements strategically.
- Add Artistry With Slow Motion & Smooth Movement – Select key moments that benefit from slow motion, and integrate tasteful camera moves to enhance drama.
- Capture Pre-Ceremony Details – Highlight bridal prep, the dress, and accessory shots to build a narrative from the very start.
- Manage Reception Lighting & Coverage – Bring your own lights if necessary, focus on speeches, toasts, and dances with multi-camera angles for emotional storytelling.
- Use Candid Moments & Guest Reactions – Document the crowd’s laughter, tears, and spontaneous hugs to add depth to your final film.
- Collaborate with Vendors – Foster a team atmosphere with photographers, DJs, and planners to keep the day running smoothly.
- Shoot with the Edit in Mind – Gather establishing shots, longer uninterrupted takes, and audio that can be woven into your narrative.
- Perfect Post-Production – Organize footage thoroughly, layer emotional audio, and color grade consistently to unify the finished product.
By following these steps, you can craft wedding videos that resonate on a deeper level—films that are visually polished, emotionally rich, and that truly capture the essence of a couple’s big day.
Take what works for you, adapt it to your own style, and never stop experimenting.
That’s how you’ll grow from a good wedding videographer into a truly cinematic storyteller.
Go on and create something magical!