Whether you are looking for a device for multi camera live streaming or you are simply trying to find the best wireless HDMI transmitter and receiver system, options are varied.
I know that it can be tough and confusing to find solutions, which is why I want to make your purchase easier. Today, we’ll be covering a very good system: the Hollyland Mars 400s Pro.
In this article, we’ll talk about the Hollyland Mars 400s Pro wireless HDMI/SDI transmitter and receiver. Also I will show you how to create a multi camera live stream using Hollyland Mars 400s Pro and Atem Mini Pro ISO. If you don’t want to read all the blog post, you can just watch my YouTube video below:
Please, keep in mind, this article is not an unboxing piece, nor will I be providing you with all specifications of the product. I’m sure you can find them online.
What we will talk about here is real life uses of this wireless system. We’ll also be testing working distance, battery life and multi camera live stream setups. If you’re ready, let’s dive in and take a closer look!
About the wireless video transmitter Hollyland Mars 400S Pro
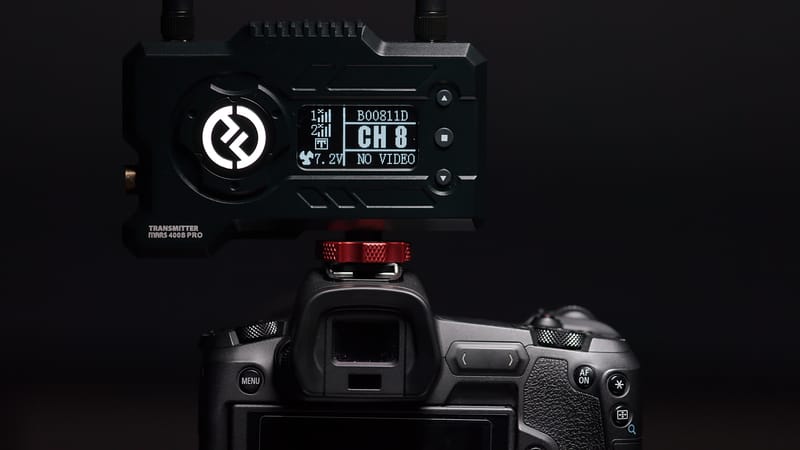
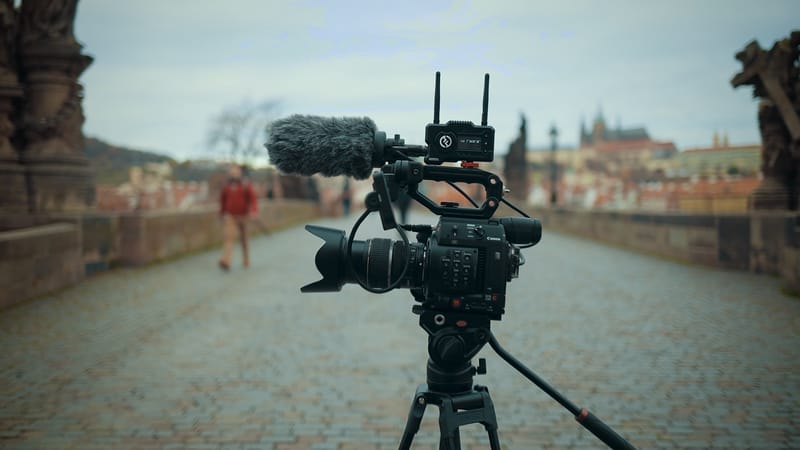
We have two cameras: Canon C200 and Canon EOS R. What I like about the 400S Pro is I can use SDI input when I connect it to my Canon C200 and use HDMI input with my Canon EOS R.
Though I wish it had a HDMI loopout, so when I use it with my Canon EOS R, I could also connect my Shinobi monitor. However, for what I need it for, it does the job most of the time.
The transmitter is really lightweight, portable and modern looking. Last week we had a live stream for a client, and we used 2 Canon C200s with 400S Pro and Atem Mini Pro ISO. We just used SDI input on the transmitter and HDMI output on the receiver to connect straight to Atem Mini, so also it worked as SDI to HDMI converter. We were very satisfied with the results and would definitely use it again for this purpose in the future.
Range Testing of Hollyland Mars 400S Pro
Before my live stream test with Atem Mini Pro, I tested the range of this system, so I can be confident on the actual live streaming day.
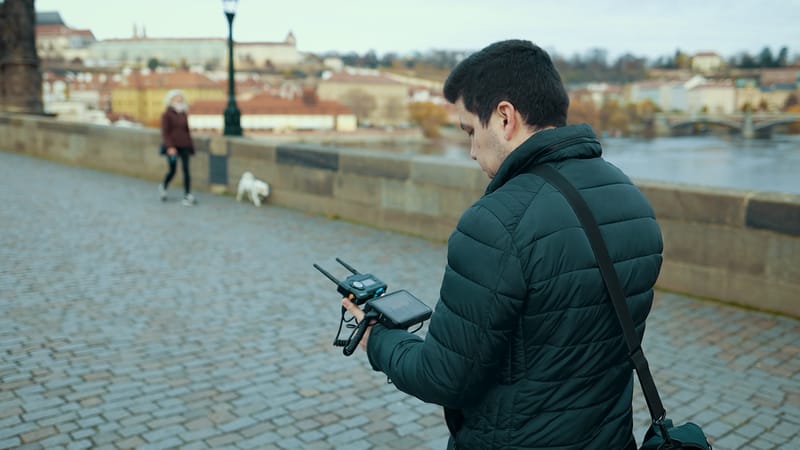
I put my 400s Pro transmitter on Canon C200 outdoors in the city and walked away with the monitor and receiver. In my range test I didn’t lose any signal until 200 meters (650 feet). I could get more if I wanted, but it was a little bit tricky and I lost a signal when I turned back to the transmitter after 200 meters.
Also I tested indoors and I got around 20-25 meters including 3 walls between receiver and transmitter. In most of our scenarios, we do live stream indoors, where the transmitter and receiver are in the same room.
So, these are really good results for my purpose. I would suggest that it would be suitable for most standard purposes that you might have in mind, too.
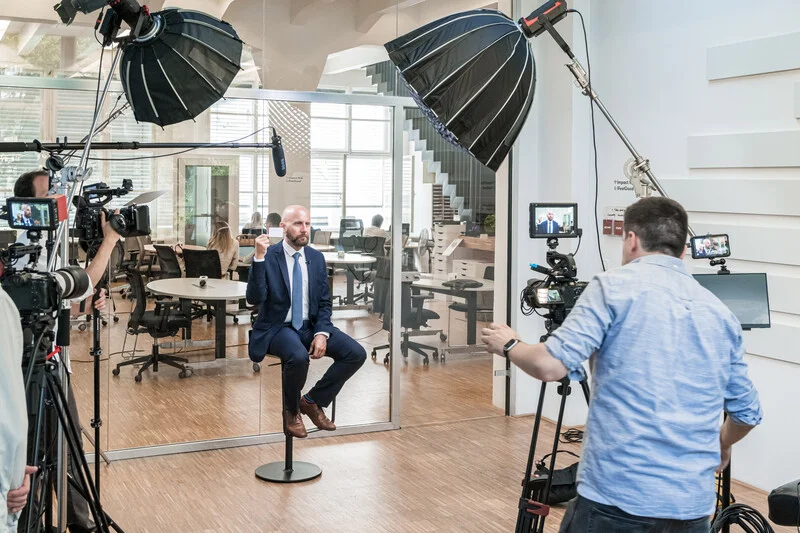
We also recommend reading our newest similar blog post “Two Camera Corporate Interview Setup: Our Cameras and Lighting Setup for 2022”
Battery life test
As you know, using the right power option is important when you do live stream with wireless systems. You don’t want your battery to die while you’re streaming, right?
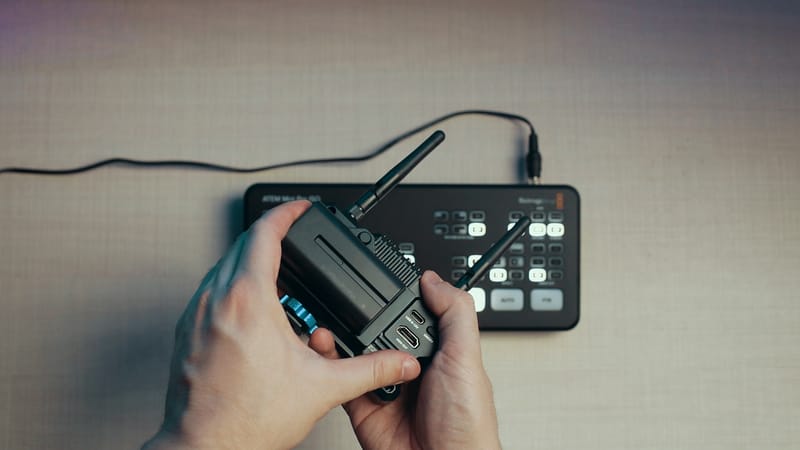
In most cases I would recommend using two powering options depending on your camera setup. You can use small Sony NP batteries on the receiver, which lasts around 3 and half hours from my test, or you can connect a power adapter, which is included in the box.
Personally, I believe that the second option is better, especially if you’re live streaming, so you don’t have to worry about changing batteries on the set. By contrast, the transmitter eats a little bit more power than a receiver, so I would suggest using bigger Sony NP-F970 batteries.
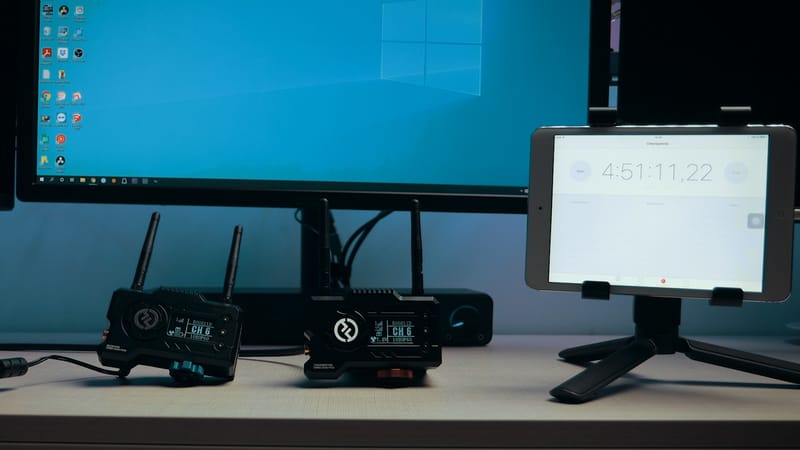
In my testing I found that the transmitter lasts for around 10 hours, while at the same time a small Sony NP-F550 battery lasts about 2 and half hours. Keep in mind, when you use bigger Sony batteries, your wireless system can get bulky and heavy. If you’re not shooting run-and-gun, then powering it from USB C or power cable is a good option.
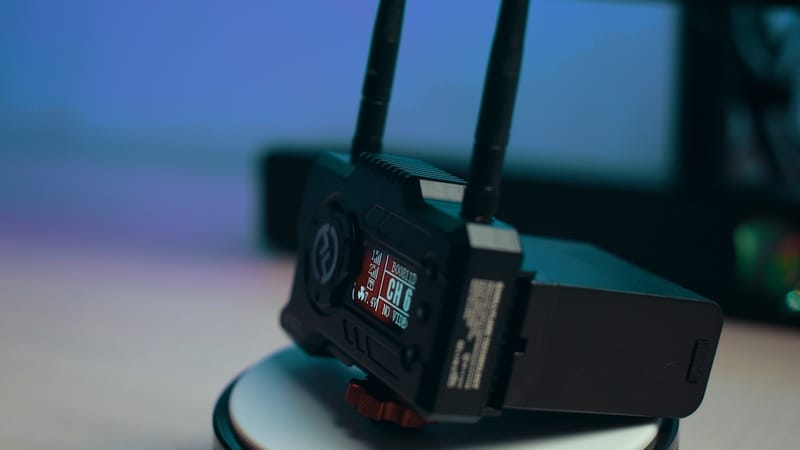
One camera live streaming using USB C to Lan Adapter
Hollyland markets the Mars 400S Pro as a great wireless option for a live streaming. You can connect your Receiver straight to your computer using USB C cable and use this video signal as a web camera without any capture device.
That sounds really great, and it can produce some excellent results. If you’re looking for one camera livestream option, this could be a great solution.
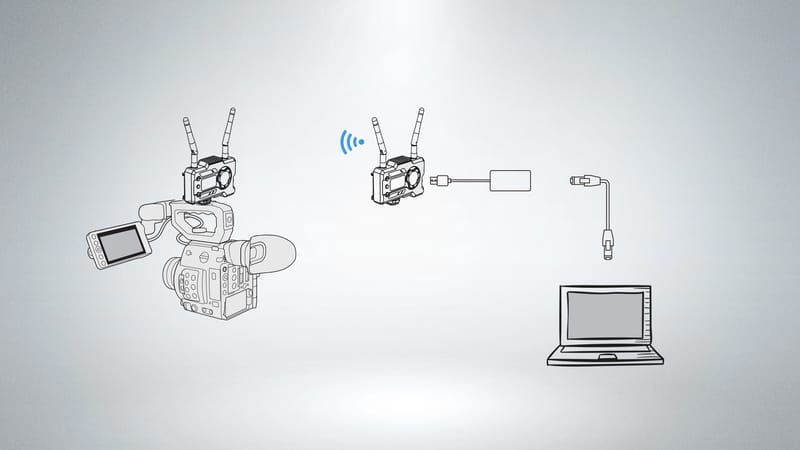
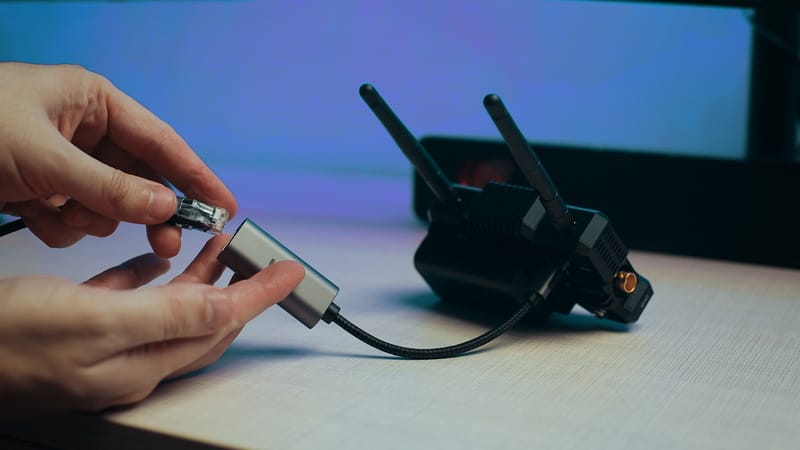
So, I tried to connect my receiver to my computer using USB C to LAN adapter and add it as RTSP stream source to my OBS Studio. Now I could live stream to YouTube or Facebook using OBS, or even make quality Zoom calls.
This is so awesome, that you can have a great quality stream without any cables, so you can walk around without thinking about HDMI cable or USB Capture card. For most people in this line of work, that can be very useful indeed!
Multi camera live streaming: HDMI vs Wireless system using Atem Mini Pro ISO
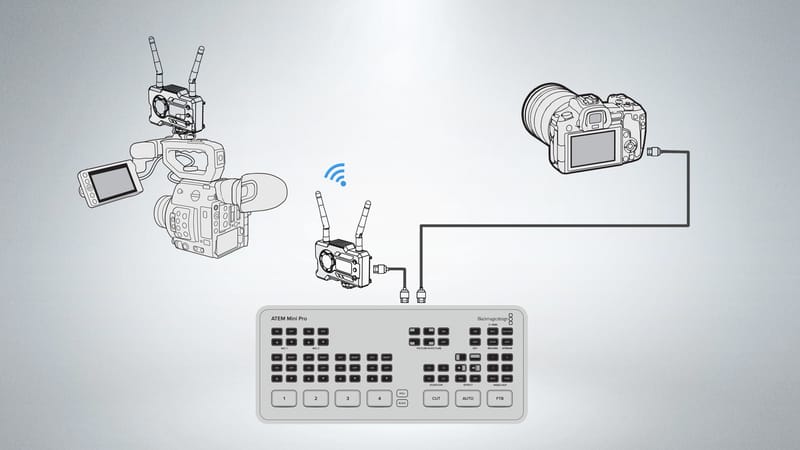
What if you want to make a multi camera live stream?
In our video production, we use Atem Mini Pro ISO solutions, and do live streams for our clients in different locations. Sometimes we have to be more portable and have fast setup times. In this case a wireless system is a really great option.
It gives you so much flexibility, meaning that you can put your cameras as far as you want within the working distance of the system and walk around while shooting and don’t think about the cables.
But the biggest problem in this setup could be a delay and quality, when you use one camera connected through HDMI cable and the second one is using a wireless system.
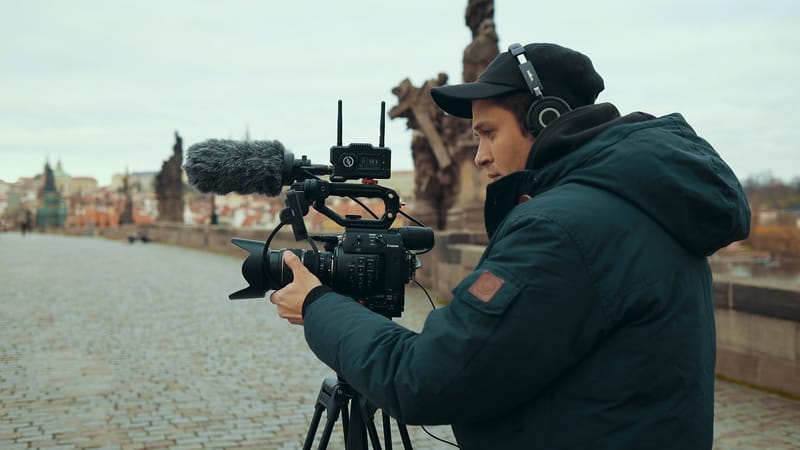
So, I tested the Hollyland Mars 400S Pro using my Canon C200 and at the same time my Canon EOS R was connected straight to Atem Mini Pro using a 5 meters long HDMI cable. As you already know, 400s Pro has 0.08 sec delay, so we have to fix it somehow.
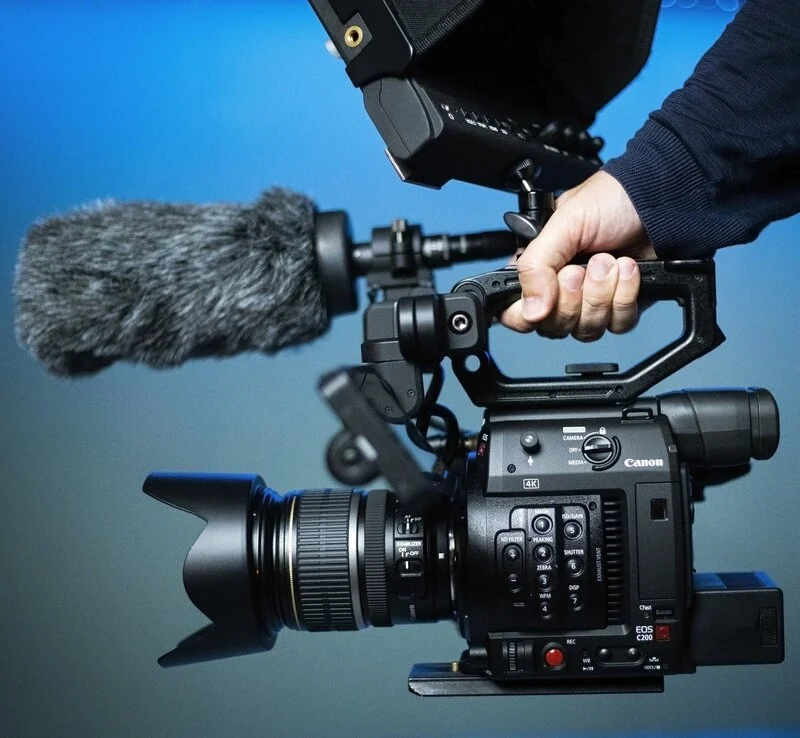
We also recommend reading our newest similar blog post “Is the Canon C200 camera still worth it in 2023? Owner perspective.“
For this I connected my wireless microphone’s receiver straight to my Atem Mini jack input, so I can change audio delay in Atem Switcher software. First, I tested the 400S Pro latency, so I know exactly how many frames of delay it has. From my test it had 3 frames. Then I changed my audio delay to 2 frames, so it will be in the middle between wireless connection and wired HDMI.
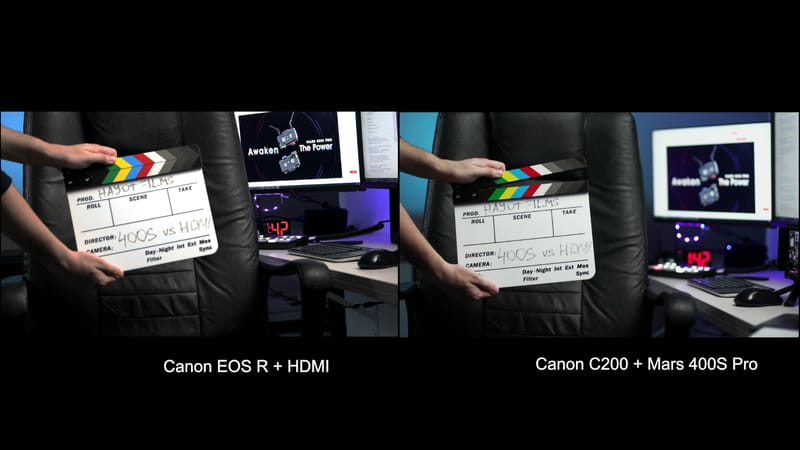
You can see the result in my YouTube video above. As you can see, when I switch the cameras it’s very hard to notice a delay in my voice. Also, keep it mind that you get slightly worse video quality through 400s Pro compared to HDMI cable.
You won’t notice it on the Live Stream though, but if you’re using Atem Mini Pro ISO and you want to edit these files after, I would suggest using a camera recorded video file to get better results.
If your HDMI connected camera has a wide angle or shooting a speaker and a wireless camera shoots an audience or something else, your viewer won’t notice anything. If you need to have both cameras without any delay or quality difference between them, then the next option might be better for you…
Multi camera live stream using two units of Mars 400s Pro and Atem Mini Pro ISO
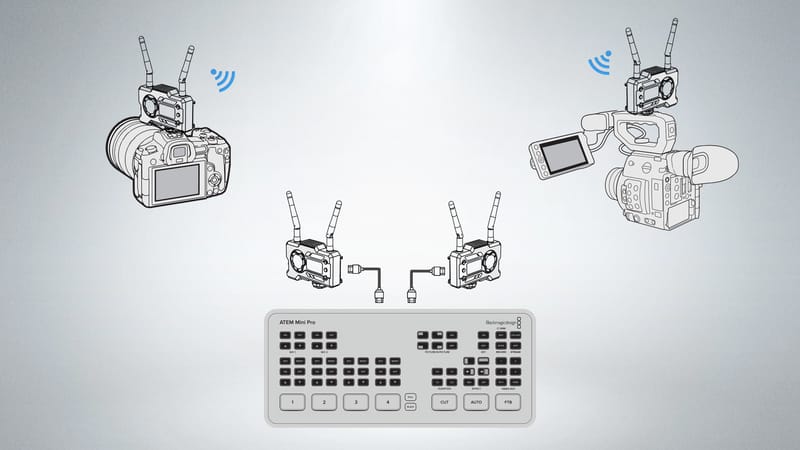
The second option is the best if you have two units of the Hollyland Mars 400S Pro. Because both have the same delay, you won’t notice any latency issue when you switch cameras. As you can see in my test with the clapperboard, both cameras connected through 400S pro and have the same delay.
However, what if one camera is further away from Atem mini than the second one?
I tested it as well. I put the first camera around 25 metres far from my Atem Mini including a thin wall and open window between them. The second camera was only 2 metres away.
In this test my first camera had 1 or 2 frames delay compared to the second camera, which is not bad at all. You don’t need to change audio delay for that.
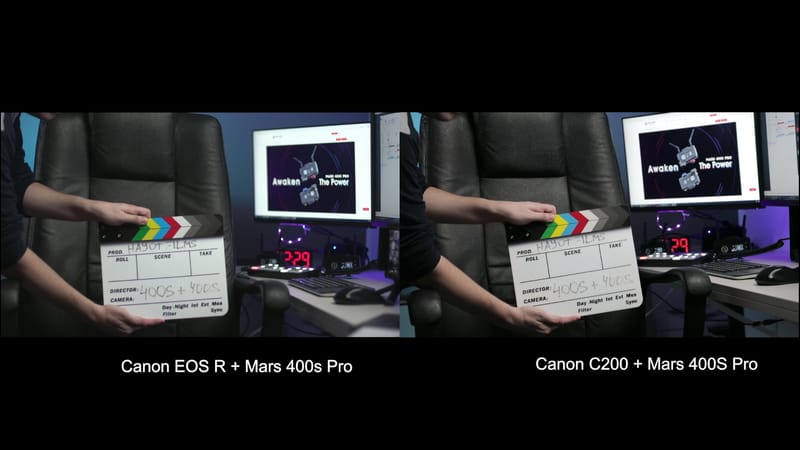
These test results mean that this will give you enormous flexibility when you’re shooting livestreams, you can put your cameras wherever you want in the same room and leave your Atem Mini Pro closer to the router and outlet for better internet/power connection.
You can also connect a third camera through HDMI for a wide angle and use it as a backup camera, so if you experience wireless connection problems for any reason, you can always switch to the wired camera.
We also recommend reading our newest similar blog post “YoloBox Pro Review | vs Atem Mini Pro ISO | Which is the Best Portable Live Stream Device?“
As I mentioned before, the third camera will have a wide angle, so people won’t notice audio delay.
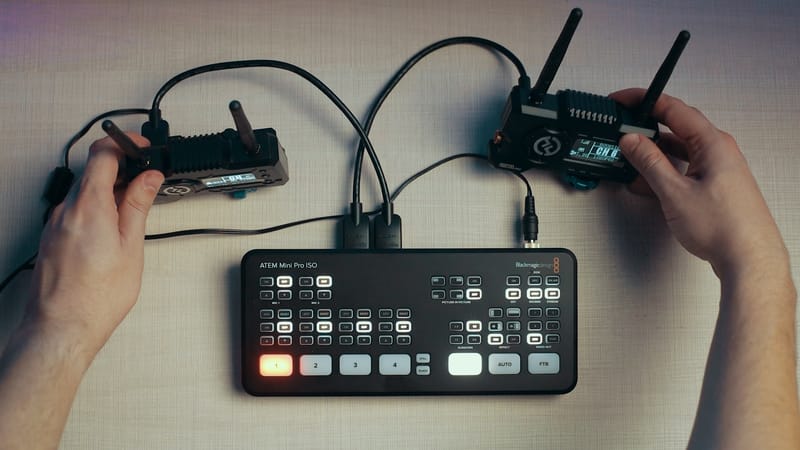
We used this kind of setup last week in our client’s live stream shooting and it worked flawlessly. We also noticed that it was much easier to set up and tear down everything after the shooting. Before we had to use long SDI cables and also long LAN cables to connect to the location’s router.
Now our Atem Mini Pro ISO can be located next to the router. This helps to speed things up, improve performance, and keep things ticking along nicely.
Read also “How to Set Up Video Interviews: Our Camera Setups”
Conclusion
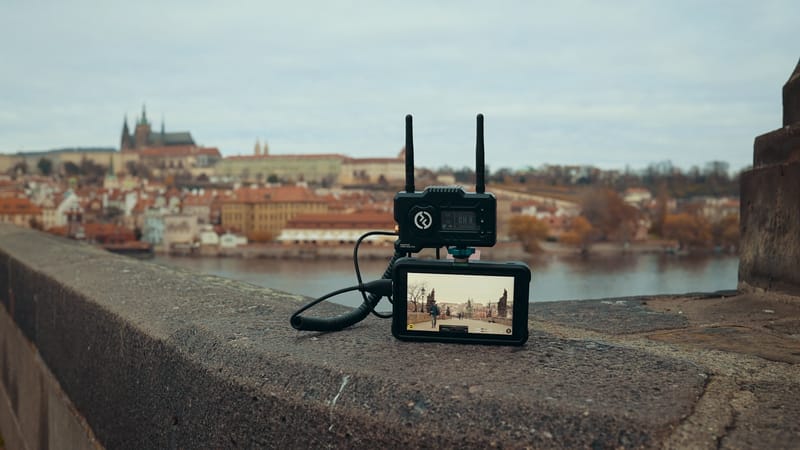
If you’re looking for a stable, reliable and high-performance wireless system for your live streaming or wireless monitoring on a budget, then this product is perfect for that. When you have a shooting, you can take with you only a video transmitter and use an iPad or up to 4 devices as a preview monitor for your client and film crew.
Nowadays when we have to keep distance on the set, it could be a great option. That’s all, if you have any questions, please let me know in the comments bellow. Thanks again – best of luck with your next step forward in the project(s) that you are taking on!


Hi Otto. Great article! May I ask what the RTSP configuration in OBS was? Did you just add IP address or was the URL string? Thsnk you!
Hi Scott, sorry for the late reply, I just saw your comment. It was an ip address. Hope it helps!