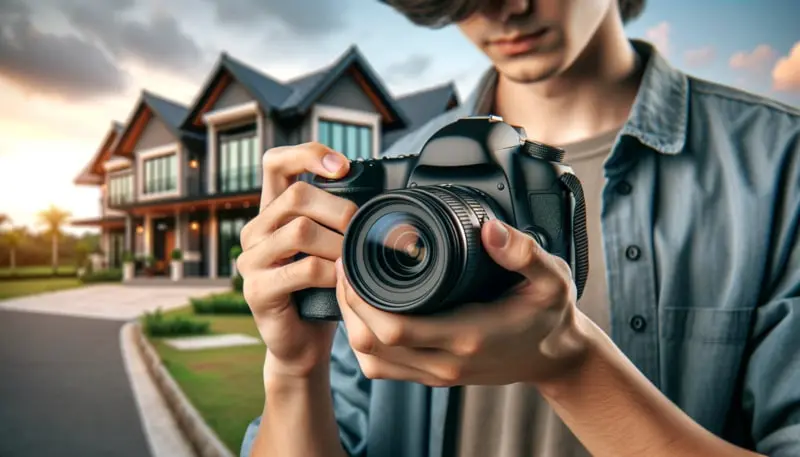
Are you thinking about trying out real estate photography? If you’ve always liked taking pictures of buildings, residential properties, or even commercial areas—then being a real estate photographer could be a great profession for you.
But remember that just like any photography career, real estate photography is not easy to start. Expect that there will be challenges and mistakes along the way.
But you don’t need to worry because, with just a few important things to know and get ready for, you’ll be on the right track.
And those things are exactly what we’re going to discuss in this article.
Yup, we’ll cover everything you should avoid doing and stuff that might seem tricky at first.
Let’s start.
#1 Lack of Research & Preparation

Always make sure to explore the property first. Remember that each home has its own unique characteristics and charm. The better you know the property, the smoother your real estate photography session will go.
Tip: A quick visit before the shoot also sparks your creative ideas. From there, you can also confirm that the property is photo-ready.
#2 Not Having Clear Goals

It’s very important to know what you want to achieve with your photos. Always think about who’s going to see them.
Is the property being sold?
Is it going to be up for lease?
Will it be auctioned soon?
Make sure to talk to the owners because they know their house more than anyone else. They can surely show you where are the best parts, too.
Adjusting your real estate photography plans to what the viewers want can really make your photos stand out and do well.
#3 Shooting Without a Shot List
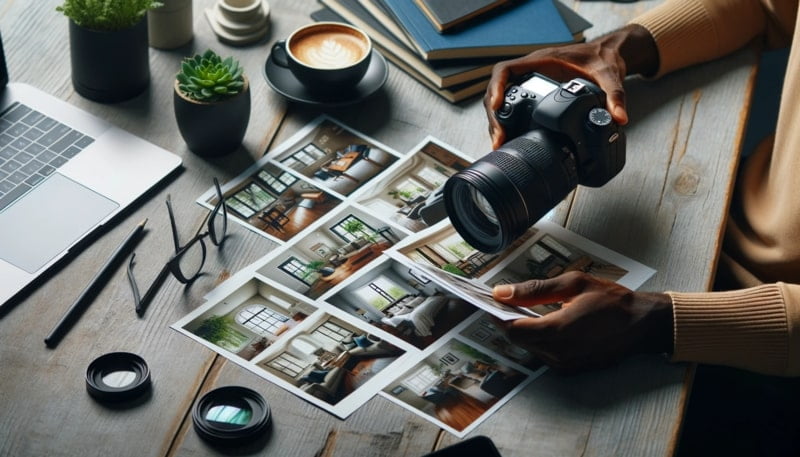
There’s no doubt that real estate photography is fast-paced.
To be an efficient real estate photographer, always prepare a basic shot list for every job. Even though each home is different, you’ll always need shots like wide views of bedrooms and bathrooms. If there’s something special like a standout design, add it in, too.
Start simple and adjust based on what works best. Don’t be afraid to start with a fundamental shot list, and then just add or modify it as needed.
#4 Capturing Crooked Lines
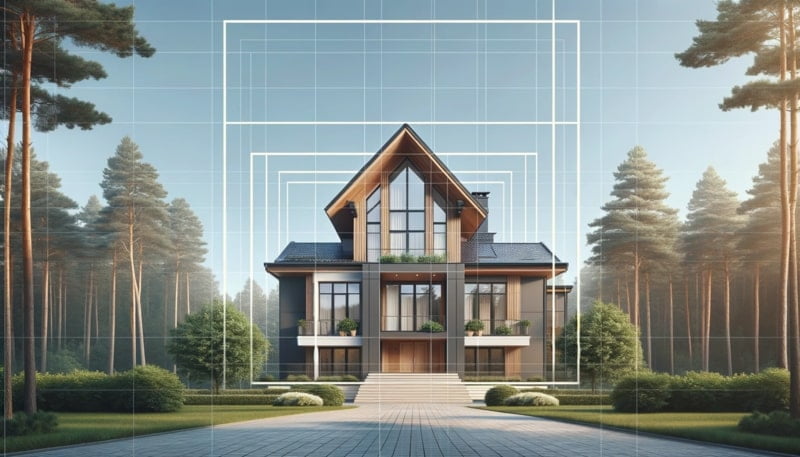
A quick way to improve your real estate photography is to make sure all your lines are straight and square.
When editing in Lightroom, use Lens Correction to fix any distortion and the Transform section to straighten against a grid. The Auto button helps speed things up too, but you might need some tweaks here and there.
But if you want to reduce editing time, you may just keep your camera level and aim straight at your subject. For interior shots, a height of about 5 inches and a tripod can help see to it that everything lines up accordingly.
#5 Having Too Many or Too Few Photos
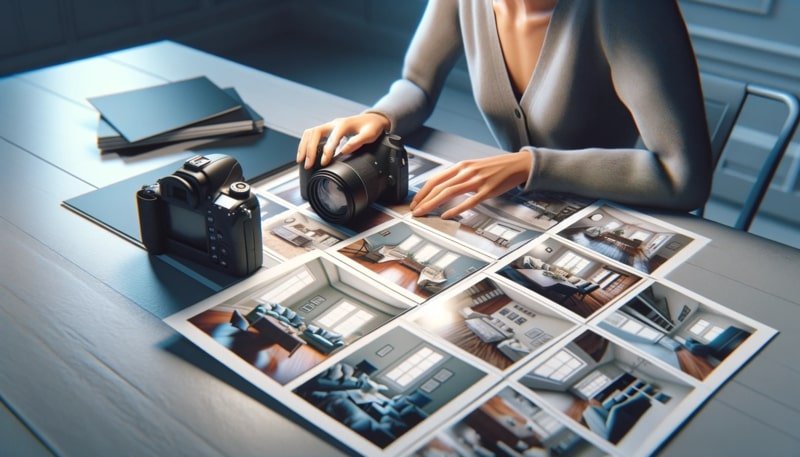
Don’t go overboard with too many photos or even lengthy videos as it can overwhelm viewers—this is a big no-no. Just pick the best shots to showcase the property effectively.
But please keep in mind that having too few images can also create a negative impression on you as a real estate photographer. You don’t want clients wondering if something’s wrong due to a lack of photos in the listing.
Tip: Create a visually appealing presentation that leaves customers curious for more.
#6 Bad Lighting

Lighting is the key to real estate photography and videos.
It’s best to avoid shooting when the sun creates harsh shadows during bright times of the day. Dark rooms aren’t great either, as they make the property look less attractive. Choose times with softer natural light—preferably during the day.
It’s also good to note that turning lights on and off can create different effects, but be cautious with this if you’re a beginner as it may introduce color temperature issues.
Want to capture vibrant photos as a real estate photographer? Then always aim for a daytime session.
#7 Shooting With Fisheye
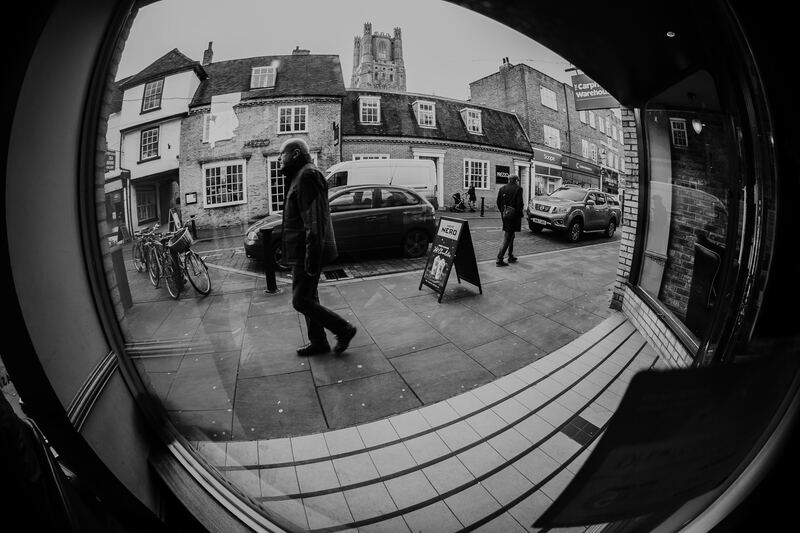
It’s true that wider lenses are great for most listings, but there’s always a limit.
Yup, avoid going too wide—anything wider than 10mm on a cropped sensor or 16mm on a full sensor starts getting fisheye-like. Fisheye lenses bring a lot of distortion to your real estate photography, making spaces hard to see clearly and tough to edit.
We advise you to stick to shooting between 16-20mm with a full-sensor camera, using 16mm only in small spaces if needed.
#8 Not Diversifying Your Shots
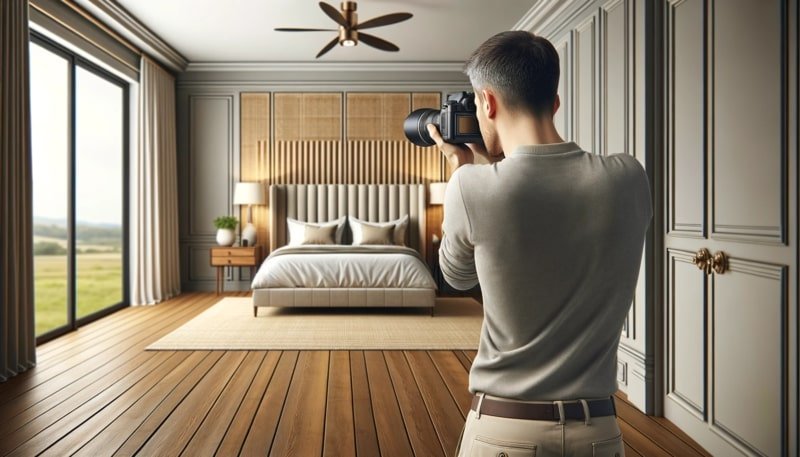
Don’t stick to just exterior or interior shots. Yup, it might not be enough.
Mix it up! Begin with an overall view to show the property’s layout, then zoom in on interesting details like unique cupboards or detailed woodwork. Vary your perspectives to help viewers get the property’s layout and space.
Always be creative. You may also consider using a drone for unique angles and shots.
#9 Directing the Flash Straight Into the Room
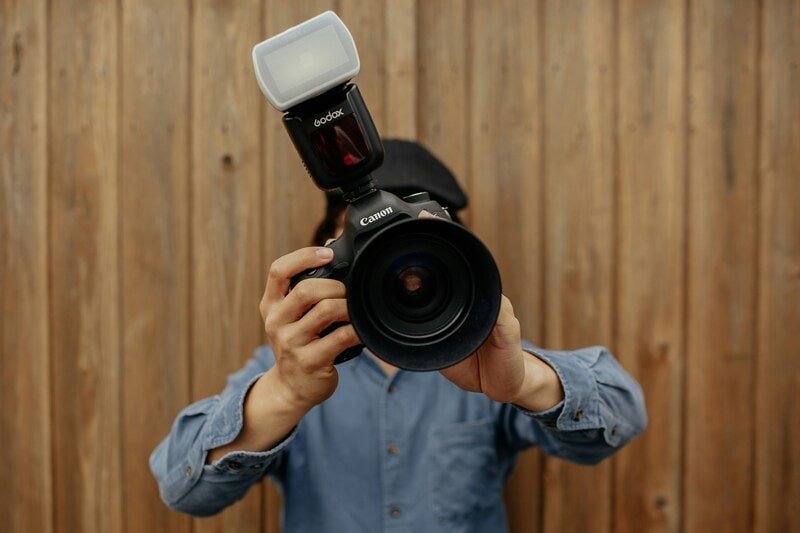
Using a flash is handy, but pointing it straight into the room can make your real estate photography look too harsh.
Instead, bounce the light off a wall or the ceiling. This will soften the flash and avoid that overly bright center and quick light drop-off at the edges. Yes, bouncing the flash changes the whole vibe of your photos.
Remember to make the flash a bit brighter when bouncing, as the light has to cover more distance to fill in the shadows.
#10 Not Listening to Your Market’s Feedback

Everyone’s got an opinion, but not all are equally important. But do you know who’s the most important opinion to listen to when it comes to being a real estate photographer? Well, of course, it’s your market.
Research their feedback before making any changes, and don’t hesitate to ask your clients directly what they want. Check the MLS guidelines for photo numbers and sizes—match your packages accordingly to that.
Post-shoot, please don’t forget to get feedback from your clients to know what they loved or missed. Always stay connected with the real estate photography community to keep your rates, packages, and work level aligned.
#11 Selecting the Wrong Lens
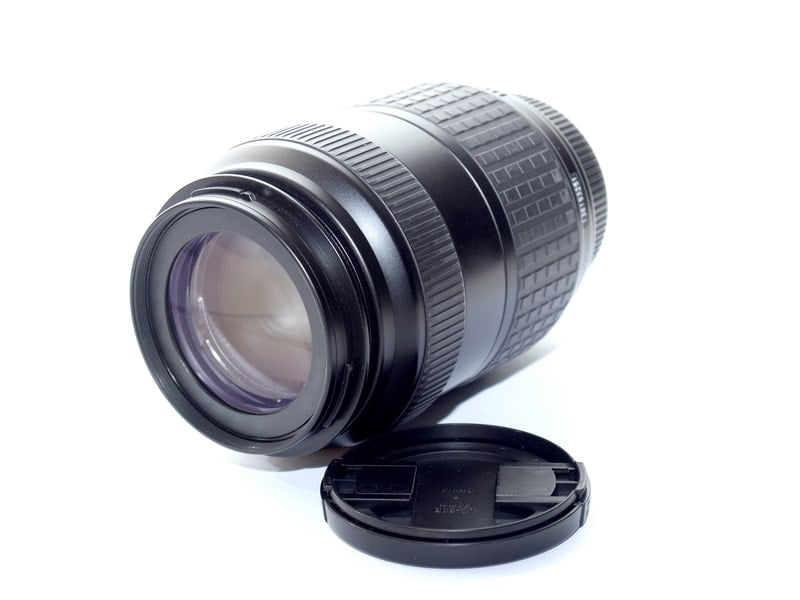
Picking the right lens is another crucial thing in real estate photography. Avoid the common mistake of using the wrong one.
For tight spaces, go for a wide-angle zoom lens.
Outdoor shots? A telephoto or regular lens is your friend.
Always see to it that you understand your job, then choose your lens.
A 24-70mm or 24-105mm works for spacious interiors with simple compositions, but for tight spots, opt for a 16-35mm or 14-24mm ultra-wide lens.
#12 Accidentally Capturing Your Own Reflection
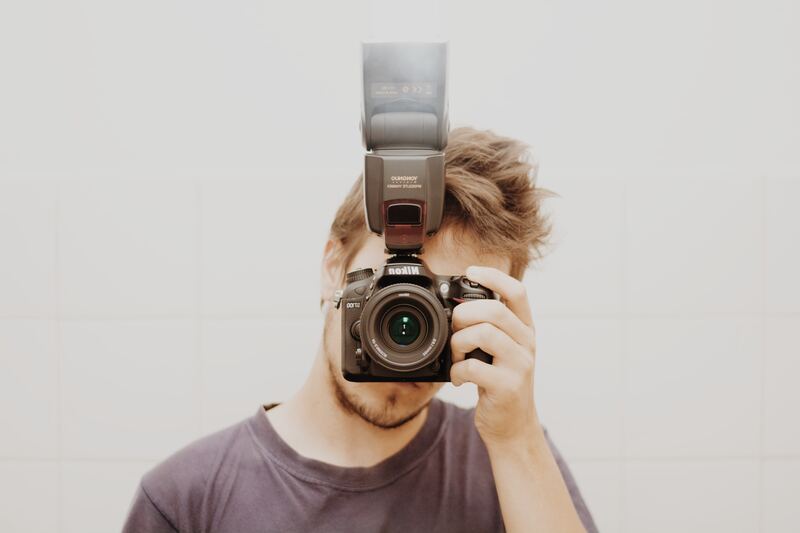
Taking photos of certain areas like bathrooms or dance studios can lead to accidental mirror selfies or flash reflections. And it’s a distracting, unprofessional mistake to avoid.
Work on your angles. You can stand a bit higher or lower than usual, or position yourself at a right angle to the mirror to dodge those unwanted reflections.
#13 Individually Editing Each Photo
To keep things quick and professional, you can do batch editing instead of tweaking each photo individually.
Buyers just want clean and enticing photos of the entire space. Save time by editing in sets—use presets for consistent edits or sync settings across selected images.
Still, please review your photos to make sure everything looks right, especially lines and lens corrections.
Quick batch edits save time, but avoid extreme alterations that could make buyers suspicious, like hiding unattractive views or changing a room’s shape drastically.
#14 Overdoing the Retouching
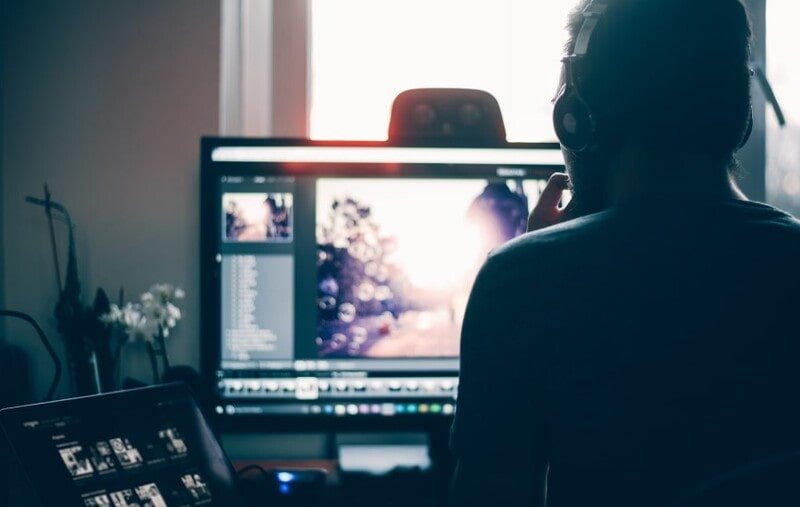
It’s true that editing photos can enhance quality, but too much retouching might mislead clients, too. We recommend showcasing properties as they are today.
If it’s an old-style apartment, then so be it. This saves time by helping clients who won’t like a particular style eliminate it early on.
Aim for a realistic appearance by avoiding excessive color changes or removing significant details.
Note: The National Association of Realtors (NAR) is against using AI to enhance your listings.
#15 Do-It-Yourself Real Estate Photoshoot
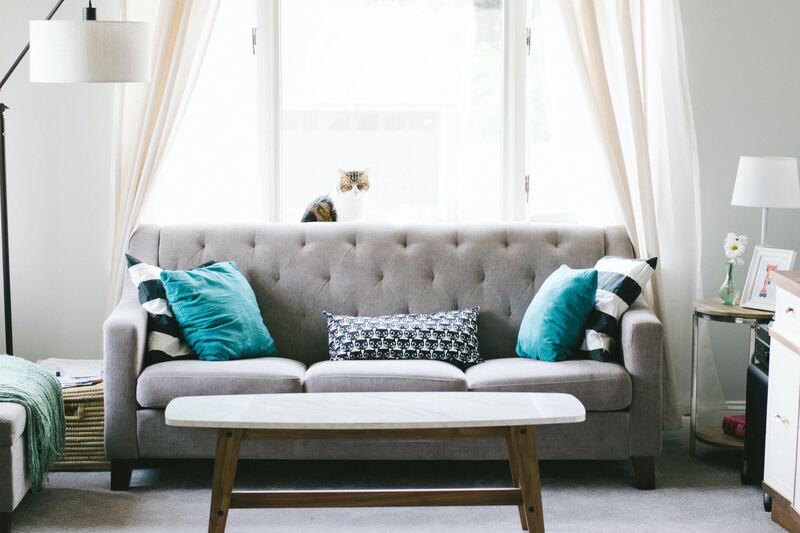
When you’re planning a property photoshoot, you can either take the photos yourself or hire a professional real estate photographer.
But please keep in mind that if you’re not familiar with interior photography, attempting it yourself is a fundamental mistake. While maintaining within budget or the desire to learn is understandable, interior photography is challenging and requires time, practice, and specialized equipment.
We don’t discourage you from trying, but please remember that real estate photography is tougher than it seems.
Final Thoughts
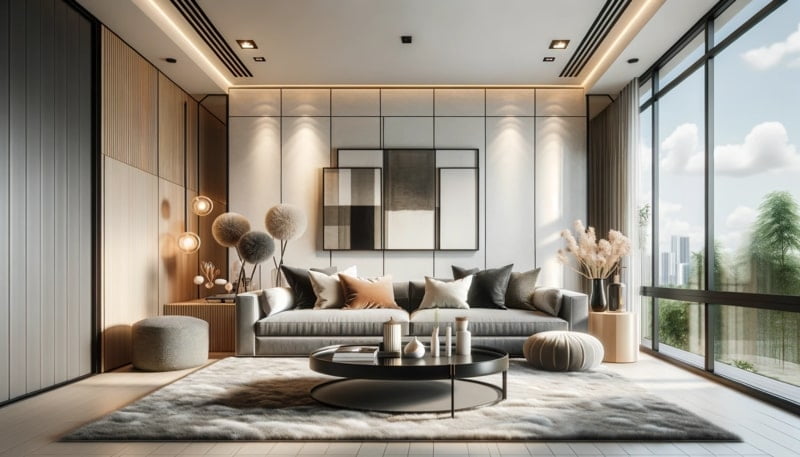
Overall, being a real estate photographer takes time and learning from a lot of mistakes. But connecting with experienced people who’ve been where you are can save you from some of these slip-ups.
As you go through the listed mistakes above, do some research and try different things with your clients. This helps you figure out what works best for you, your clients, and your local market.
Pretty soon, you could be the expert guiding other new photographers!
However, if you’re someone who needs assistance with your real estate photos—whether it’s for your home, office, or commercial space, HayotFilms can definitely help you with that. We’re a team of professional photographers based in Prague, and we’re here to take your real estate photography to the next level.
Feel free to contact us here for your inquiry, and let’s capture those perfect real estate shots together!

